It snowed last night which is a pretty dig deal for those who live in Central Texas! Did it snow at your house? Did you make a snowman? Well, it only snowed a little, so I thought about little snow cookies.
Have you ever made snow cookies? They’re made in the oven, not outside. Ha, gotcha! But they do remind me of snowflakes, so what better day than a snow day to make them.
Here’s how:

Step 1: Gather the ingredients and supplies.



Step 2: Seperate 2 egg yolks. You’ll only use the whites, so you get to scramble the yolks for breakfast. Lucky you!
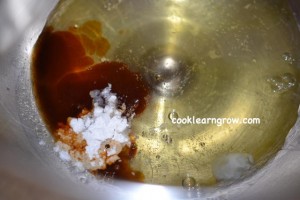
Step 3: Preheat oven to 300 degrees. Then, in a the bowl of a stand mixer, add egg whites, vanilla and cream of tartar. (you can use a mixing bowl and electric hand mixer if you don’t have a stand mixer…totally cool!) Mix until it is fluffy with soft peaks, which means the tip will bend or curve a little
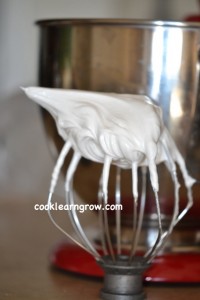
Step 4: Add sugar and mix until it has firm peaks which means the tip will not bend or curve just like in the picture above.
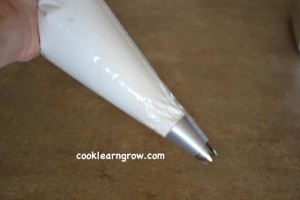
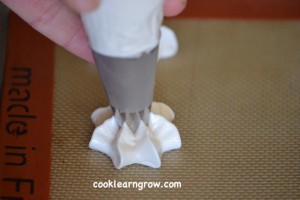
Step 5: Using a piping bag with a big star tip, fill it with the meringue mixture and pipe star shaped snow cookies onto a silpat lined cookie sheet. (You can use parchment paper if you don’t have a silpat) I piped mine a little larger than a quarter which turned out to be a nice size to eat.
Piping tips:
1. Using your right hand, (left if you’re a leftie :)) keep the bag twisted at the top like a tube of toothepaste and squeeze
2. Using your left hand placed at the bottom, guide the tip pressing down and then straight up.
3. Again…squeeze, press, lift straight up. Keep the piping bag vertical. Vertical? Math pop quiz time! Vertical means, straight up and down. You know, opposite of horizontal. You’re a math rockstar!
Step 6: Put the baking sheet full of snow cookies into the oven for about 15 minutes or just till they start to turn brown. Turn off oven. Let cookies dry in oven with the door closed for about 10 minutes. Remove cookies and cool on wire racks.
Tah-Dah! Snow Cookies! But wait, why not make them chocolate peppermint kissed Snow Cookies? Right? Who doesn’t love chocolate and snow? This girl does, that’s for sure.
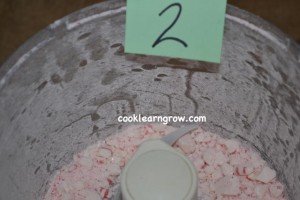
Step 7: Crush up some peppermint cookies…ignore the green #2 card in the picture, please. Pretty please with sugar on top? Who knows how that happened? It was just one of those moments.
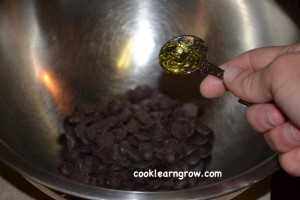
Step 8: Melt chocolate chips and a little vegetable oil in a heatproof bowl sitting on top of a pan of simmering water. Place the melted chocolate in a small bowl and then the crushed peppermint candies in another bowl and get ready to dip!
Step 9: Dip the tips of cookies in chocolate first.
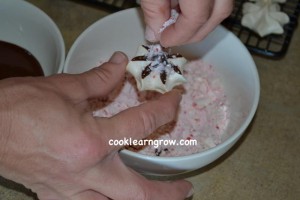
Step 10: Then sprinkle peppermint dust on the chocolate. Awww, peppermint dust, sounds like a winter wonderland kind of something.
Step 11: Place your lovely peppermint kissed snow cookies on a cute little plate or serving platter and share with your family and friends.
Congratulations! You are on your way to being a pastry chef. You will have many friends and much success!
Happy New Year to you, my friend.
Love,
Chef Lori who is about to hit the trail in this crazy cold weather…please pray for me!
[recipe]

